How to add an event to the Scheduler:
The Scheduler is accessed through HOME | Common Group | Scheduler.
1. Once in the calendar view, click on the SCHEDULER tab in the ribbon.
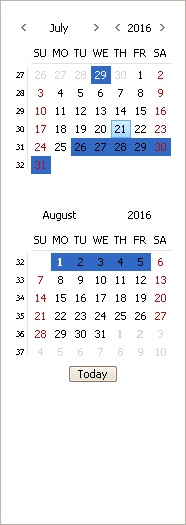
2. Using the Date Navigator in the far right pane, the user can select one date or several dates to view by clicking on a date.
3. Once the date is selected, click the Appointment button in the SCHEDULER group or right-click on the date in the calendar you want to enter the event in and select New Appointment. A window will appear with the following fields that must be entered to add the event:
Field |
Description |
|---|---|
Property |
Select the property the event is for |
Web Group |
Select the web group that needs to see this scheduled event on the calendar |
Location |
Enter a specific location of the event |
Address, Address 2, City/State/Zip |
Enter the physical address, if needed. Otherwise it will automatically be defined with the address of the selected web group |
Subject |
Enter the subject of the event |
Type |
Select the type of event that is being scheduled |
Start time |
Enter the start time of the event |
End time |
Enter the end time of the event |
Public Event |
Select this box to make the event viewable to all residents, not just the selected web group members. |
Email reminder |
Select this box to email a reminder to the web group members. |
Information |
Enter additional information about the event, if needed. This will not appear on the web portal. |
4. Once the necessary information is entered, click OK. The event will now appear on the calendar and on the web portal and viewable based on the membership to the Web Group selected or if the event is public.
