The Research feature of iXpert is used to search across resource areas of the system, which can include Account Notes, AP, AR, GL, Work Orders, etc.. The search can include a specific account (automatically defined when an account is loaded in the Account application), across the selected Global Property or if no Global Property is selected, all selected properties in the Property Selection list.
How to use the iXpert for Research:
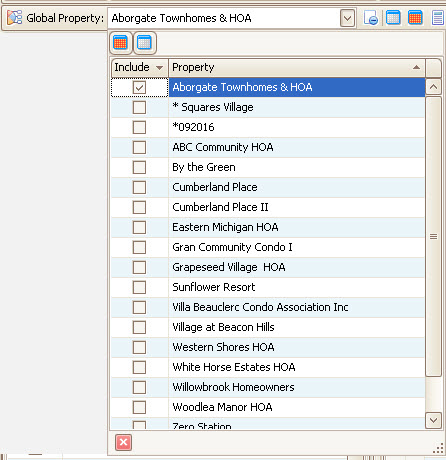
1. Select the desired properties to search using the Property Selection dropdown button and checking the desired properties or double-click a property to set it as the Global Property. Press the dropdown button or close button ![]() located in the list windows at the bottom, left to close the selection box.
located in the list windows at the bottom, left to close the selection box.
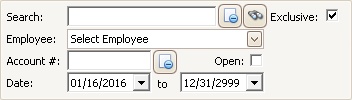
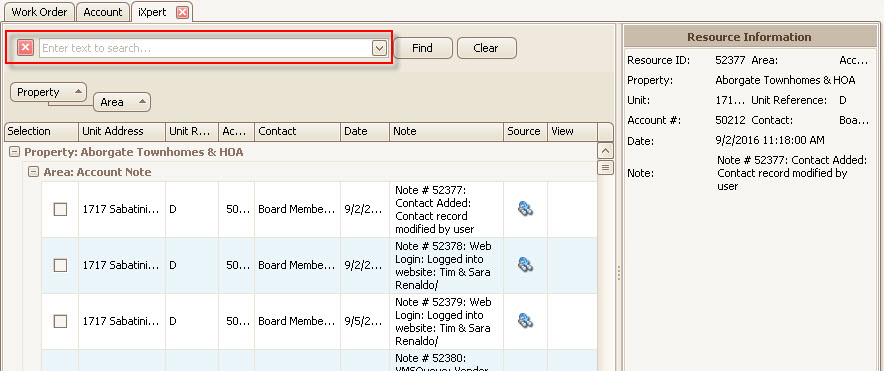
2. Enter any keyword(s) in the Search field to retrieve information from the system.
a. Adding a + at the beginning of a word (excluding the first word) will tell the system to add the word to the search:.
Example: Search for the word bark and all records with bark, including barking will be returned. Adding +dog as a second search term will look for bark and dog
b. Adding a - at the beginning of a word (excluding the first word) will tell the system to exclude the word from the search:.
Example: Search for the word bark and all records with bark, including barking will be returned. Adding -dog as a second search term excludes dog from the search
3. Select additional filters to narrow your search
a. Select an Employee to filter records by.
b. Enter an Account # if you know which owner account may have similar information.The account number is automatically added if the Account application is active with an account loaded.
c. Select a Date range if you want to narrow it down to information within a certain time frame. By default, the system will show the last 30 days.
4. Click the Exclusive box if you want the search to only contain the exact search term (example, a search for bark will exclude barking)
5. Click the Open box to only show open items (where applicable).
6. Once filters are selected, click the Research radial button and select the areas to search through by clicking the checkbox next to each Research Area
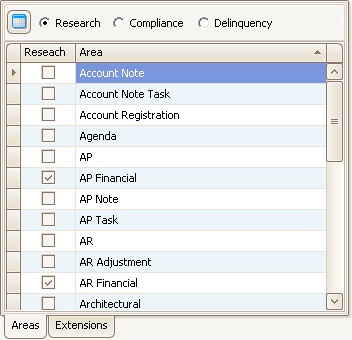
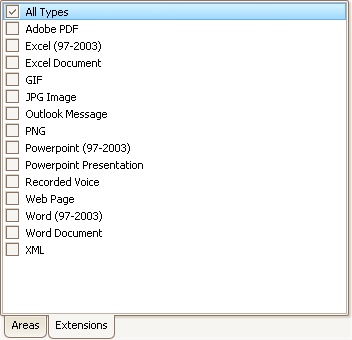
7. In the Extensions tab, select the types of documents to search in. For example, PDFs, Excel spreadsheets, Word documents, etc.
8. Once all selections are made, click the binoculars button, ![]() next to the Find tool. All returned information that matches the filters entered will appear in the window pane on the right.
next to the Find tool. All returned information that matches the filters entered will appear in the window pane on the right.
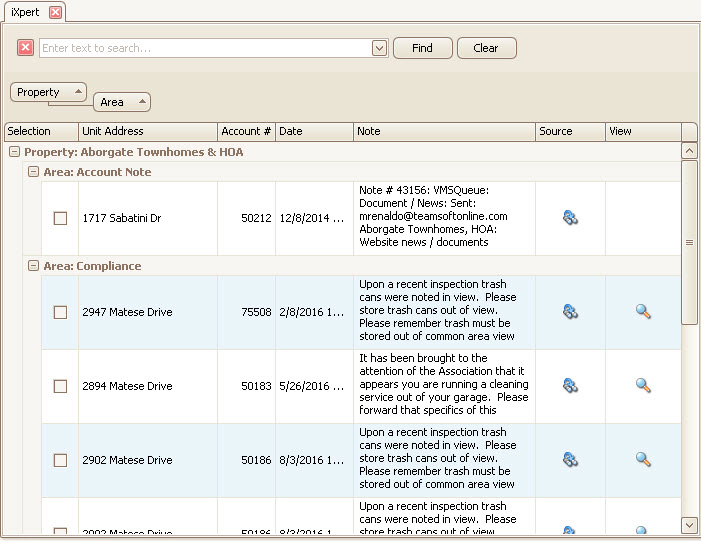
9. With the list of retrieved records, use the Find box to filter information within the grid using similar keyword combinations originally used to retrieve the list. If not shown, select any row in the grid and press Ctrl-F, which shows the Find box:
10. Click the Source button next to the item found to be taken to the resource with the information or click the View button to preview the document, if there is one available.
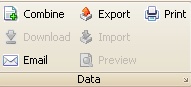
11. Additional operations can be used to manage the list of information by using the tools shown in the Quick Access Toolbar. Select any of the items in the list by clicking the Selection checkbox, then select one of the following operations:
a. Combine - Merge all documents selected into one PDF
b. Export - Save the selected files on the workstation
c. Print - Send all files selected to the printer
d. Email - Attach all files in an email