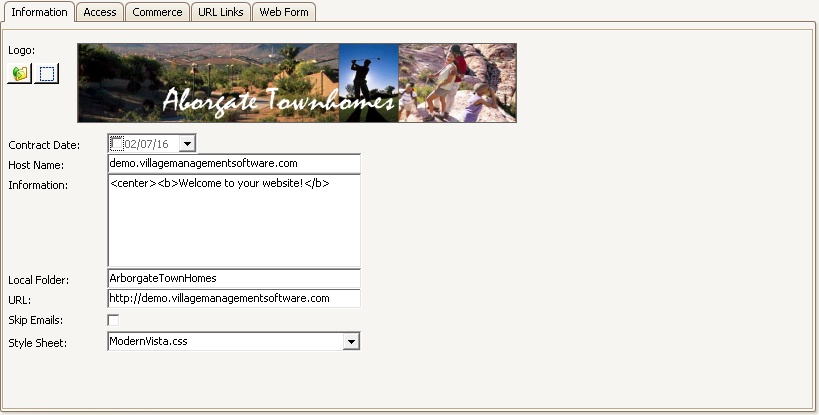
To define a Property's web portal enter into SETUP | Property Group | Property Setup | Web.
In the Information tab, the user can define the basic information about the property website. The fields are defined as follows:
Field |
Description |
|---|---|
Logo |
Header of the property's website. Best size: 780 (can be smaller) x 110 pixels.
|
Contract Date |
The date in which a website contract is valid through. Once the date is reached, the users will not be able to access the website. By default the date is set to 01/01/1950 to avoid resident's prematurely logging into the site. |
Host Name |
The property website host address (used for reporting purposes) |
Information |
Used to display a message on the Home page of the website. HTML can be entered to enhance the website. |
Local Folder |
The folder name used to store the property's content on the web server. |
URL
|
The website address of the website, including the http://, used to redirect the web user to a specific site when the user logs off the website. |
Skip Emails |
This field is used by the system to not send out any of the automated emails to the residents in this property. It is recommend to check this box, which will prevent unnecessary emails from being sent to residents while the site is being configured with web documents, calender events, etc. Uncheck this field when you are ready to have the system send email notification to the residents that have opted in to the notifications. |
Style Sheet |
Select a style sheet based on the assigned Logo for the property. |
Access Tab
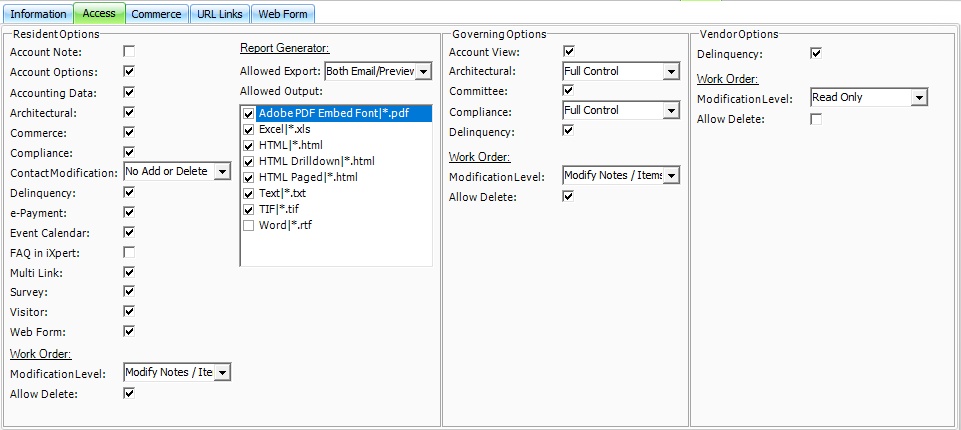
In the Access tab, the user can define what information the residents will be able to view once logged into their account (see Additional Web Access Definitions).
There are three primary areas:
1.Resident Options, which are used to define what a general user will have access to.
2.Governing Options, defines the access rights for architectural, compliance and governing members. Note: Governing members see all data for all committees.
3.Vendor Options: This area defines the master options available to all vendors, however, each vendor is given access to the feature if access is allowed through the Vendor tab.
Some of the available options allow for limited access rights, which is defined by using the drop-down next to the selection. Example Contact Modification, Architectural and Compliance.
The following list of general access options are definable for each group and have the same meaning:
Delinquency: Used to allow access to the delinquency data, which includes the account(s) that are currently delinquent, with all supporting notes associated to each.
Work Order: Allows the user to view open work orders, add work orders and / or add additional notes to the work order. The special right of Delete can be defined, but have the following restrictions:
▪Residents can only delete their unapproved work orders
▪Governing members can delete any unapproved work orders
Vendors can be defined to delete any unapproved work orders, if this option is selected and the vendor has work order access.
Commerce Tab
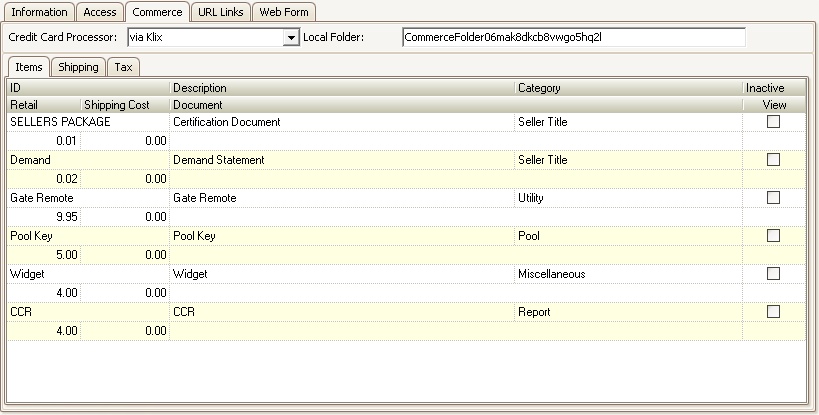
The Commerce tab is a depreciated definition and only used in the VMSWeb portal software and allows the management company to sell different documents or products using the website.
URL Links Tab
The URL Links tab is used to enter other websites that can be attached to the Home tab for residents to access.
This tab allows for outside content to be linked to the property website by entering a website name and the URL (must include the http:// or https://).
Example, the property is in a golfing community and you want to allow resident access to golfdigest.com or the website that allows a resident to setup a tee time.
1. Enter the website name, Golf Digest (the name you want shown on the website).
2. Enter the website URL (website address) http://golfdigest.com and the website will allow a resident to access the site by selecting the item from the websites link tab.

Below is an example of the Golf Digest URL entry entered for the property, which is available to the web user using the Applications | Links | Web Links area.
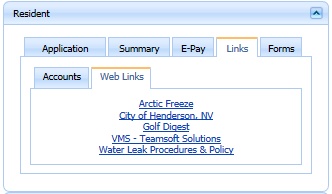
Merchant payment portals can be entered into the list using tokens that are automatically added to the E-Pay | One Time area. The tokens are used to populate user information into the web address when accessing the merchants portal and allows the vendor to automatically enter information into the online payment form.
Here is a table of tokens that can be used within the URL:
[AccountBalance] |
Resident account balance |
[Association_Account_Number] |
Resident account number |
[Association_ID] |
Unique property ID defined by VMS |
[Association_Name] |
Property Name |
[Association_LegalName] |
Property Legal Name |
[Email] |
Resident contact email address |
[First_Name] |
Resident contact first name |
[Last_Name] |
Resident contact last name |
[Management_Company_ID] |
Your account number assigned by the merchant |
[Property_Address] |
The account's unit address |
[Property_City] |
The account's unit city |
[Property_State] |
The account's unit state |
[Property_Zip] |
The account's unit zip code |
[Telephone] |
Resident contact telephone |
|
Each merchant has unique URL attributes that can use the tokens for their purpose. Refer to the VMSWindows Help for specific documentation for your vendor or consult with support on how to configure the URL. |
Web Form Tab
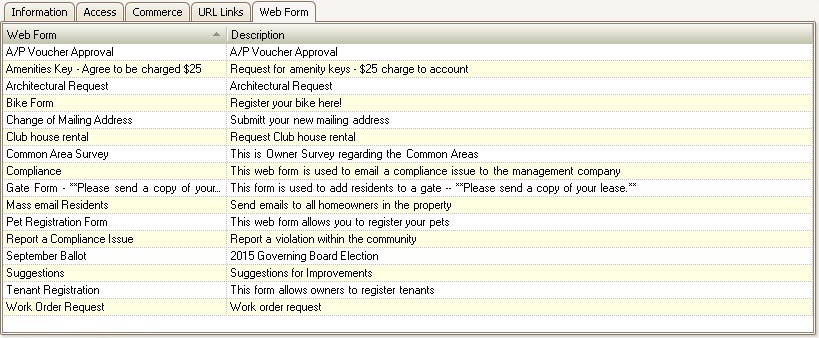
The Web Form tab is used to link created Web Forms to a property that allows a resident to fill out forms, which are then emailed to the employees that match the Web Forms correspondent.
To Add a Web Form:
1.Right-click within the grid, select Add Web Form
2.A window will show with all available predefined forms, drag/drop a desired Web Form from the web form list into the grid
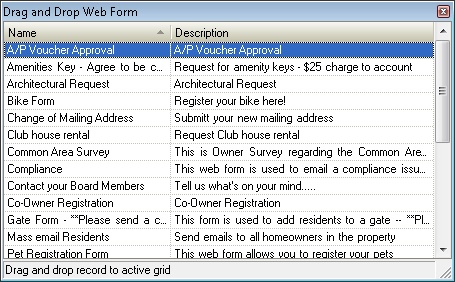
3.Close the window
4.The Web Form is now available on the selected property's web portal.
To Delete a Web Form:
1.Right-click within the grid, select Delete Web Form
2.Answer Yes to delete it
