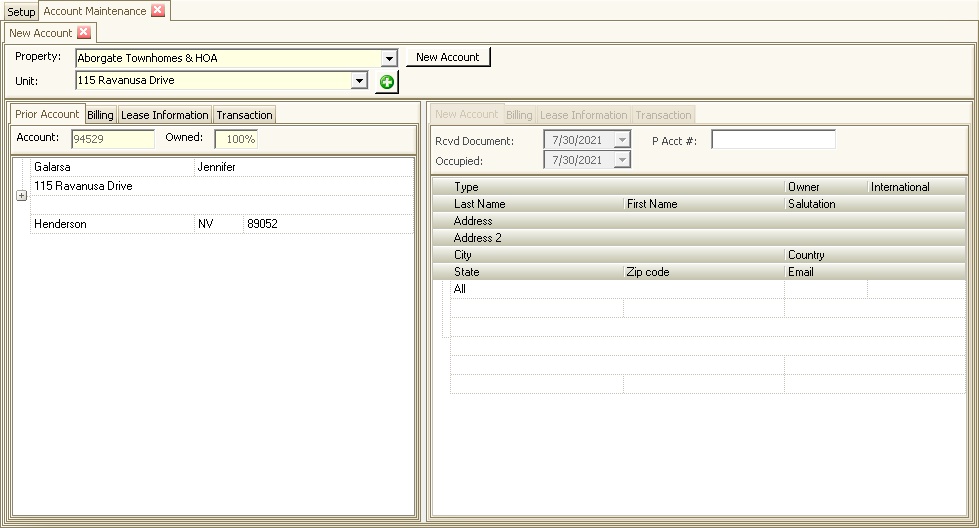
The New Account application allows the user to create or select an existing unit within the property, then add a new account to the unit.
By adding a new account, the program will create a new record and inactivate any existing accounts. Select the Abort, ![]() , icon in the Quick Access Toolbar to undo this modification in case the wrong unit is selected.
, icon in the Quick Access Toolbar to undo this modification in case the wrong unit is selected.
The New Account application is accessed through APPLICATIONS | Account Maintenance group | New Account.

The filter fields are further defined:
Field |
Description |
|---|---|
Property |
Selects the property to which a new account will be added |
Unit |
Selects the unit to which a new account will be added |
Add Unit |
If a unit does not exist within a property, the user can add a new unit using this tool |
Other application attributes are further defined:
Field |
Description |
|---|---|
Prior Account area |
Displays the current account attached to the unit |
New Account button |
Starts the process of adding a new account to the selected unit |
New Account area |
Used to enter the new account information to the unit selected |
Print Coupon button |
Allows user to have coupons printed when selected. This button will only be displayed if the selected property has a default coupon report template defined in Property Setup | Property drop-down menu | Accounting | Information | Report Information: Coupon drop-down menu |
How to add a New Account:
1.Select the Property.
2.Select the resident's Unit.
3.Click the ![]() button.
button.
4.Enter any new contacts to the account in the New Account tab
5.Enter any new Billing records that pertain to the account.
6.Enter the new Leasing information.
7.Enter any new transactions to the prior and/or new account. Transactions can be clicked and dragged between the same tabs of the Prior (left pane) and New (right pane) Accounts.
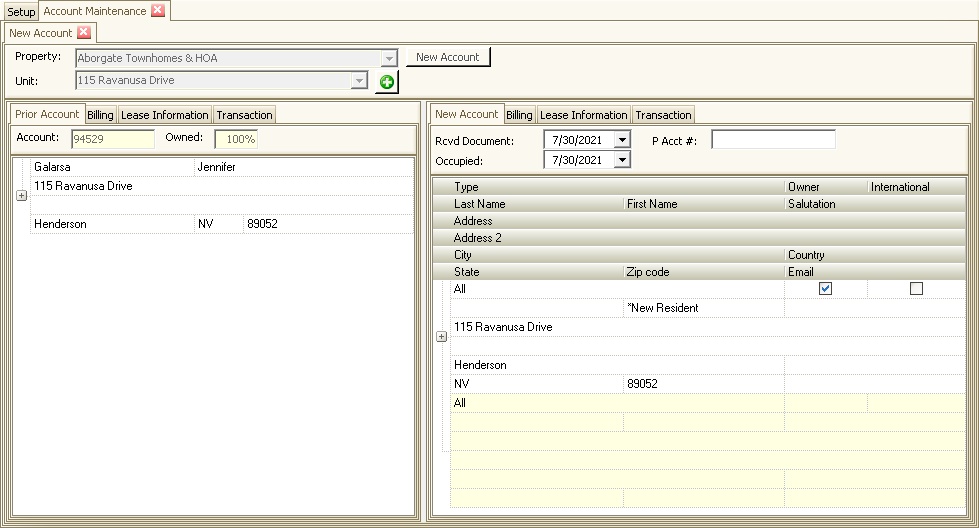
When the New Account button is selected, the following screen is displayed:

Contact Entry:
When the New Account button is selected, the program creates a contact record for the system. You must enter at least one contact record for an account defined as All.
Each account contact record entered is defined with a Contact type, which designates the type of mailings (letters, labels, etc.) the address will receive and are further defined. Note: All letters and report templates (labels, envelopes, etc.) can have parameters defined that filter the information exported out of VMS.
Example: You want to generate a mailing out of the system for tenants only and do not want to include the owners. A label report can be configured to give a user the option to select only tenants, filtering out all other contact records defined on the accounts.
Contact Type |
Description |
|---|---|
All |
All contact records indicate that all mailings should be sent to this record (the system allows you to filter information prior to printing). The All contact type designates at least one owner of the property. Note: You MUST have at least one All contact type entered for an account, otherwise VMS will not function properly! |
Billing |
Billing contact records indicate any additional addresses that should receive coupons / statements from the system. |
Collection |
Collection contact records should receive delinquency letters rendered by the system. This type of contact can be additional deed / title holders of the unit. |
Contact |
Contact records designate a person that can access the account, but not receive any mailings (example: a relative who is managing the unit while the current resident is out of town). |
Mailing |
Mailing contacts can be used to send information other than billing documents (example: newsletters or general information). |
Management Company |
Management Company contact records can be used to send notifications (example: compliance letters) to a third party group that manages a unit on behalf of the current resident. |
Tenant |
Tenant contact records indicates a tenant that occupies an owner unit (owners must be entered as All contact records). Note: Do not enter tenant contact records if tenant sub-accounts are used in the same property. Changing strategies after data is entered will result in inconsistent results. |
Enter any pertinent information for the first contact record, then add additional contacts as needed. Select the blank row below the last contact and enter the data.
If the new contact address is the same as the unit address, the user can select the Copy ![]() icon on the toolbar and the unit address information will be automatically copied into the new contact record.
icon on the toolbar and the unit address information will be automatically copied into the new contact record.