How to create a FileFusion report group:
1. Go to Reporting | Group Definition.
2. Select a report group already listed in the Groups menu or create a new one using the green plus sign ![]() .
.
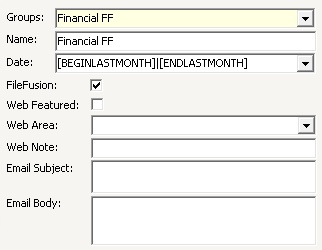
3. If you select a report group that has already been created, the name of the group will appear in the Name field. If you are creating a brand new group, enter the new Name.
4. Select the default Date parameter used when adding parameters to this report group. This will determine how a report is rendered and which PDFs are extracted depending on the date range selected.
5. Check the FileFusion box.
6. Check the Web Featured box if you want the FileFusion documents to be posted to the website as a Featured Item (optional). If selected, the following fields must also be defined:
a. Select the Web Area for the FileFusion report when posted to the web portal.
b. Enter the name of the document in the Web Note field to appear on the web portal.
7. Enter the Email Subject and Email Body when scheduling this FileFusion group to be emailed. These fields are used when a report added to the Report Group does not have a customized Email Subject and/or Email Body parameter. The Subject and Body entered here will always default when this report group is rendered.
|
Token fields can be used in the web note, email subject and body to auto-populate information when the document is distributed. |
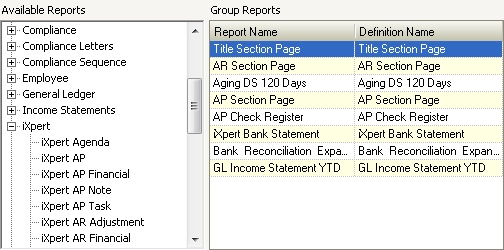
8. Reports can now be added to the group:
a. Click the plus sign, ![]() , next to the report areas in the Available Reports window to reveal the reports available in that group.
, next to the report areas in the Available Reports window to reveal the reports available in that group.
b. Click the report and drag it into the Group Reports window.
c. The title in the Report Name field can be changed, if users prefer the report to be known by a different name.
d. The order of the reports can be changed by highlighting the report and then clicking the green up and down arrows ![]() , until the desired order is established. This report group will render in the order established here.
, until the desired order is established. This report group will render in the order established here.
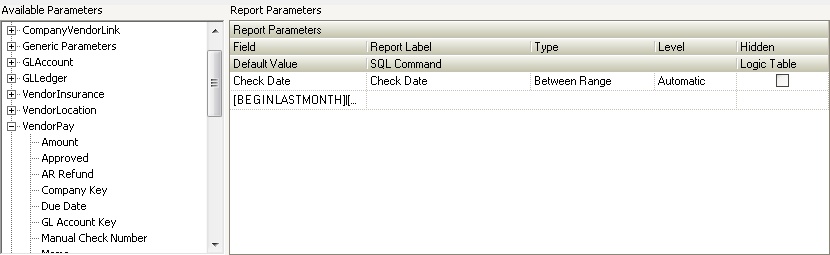
8. All standard report templates in the system already have pre-defined parameters setup. But more parameters can be added from the Available Parameters window by clicking the plus sign next to the table names and then clicking and dragging any of its keys into the Report Parameters window.
9. Once all reports and parameters have been to the new FileFusion report group, exit out of Report Group Definition.
The user is now able to generate a Queue task via Report Generator for this FileFusion group. The user can either generate these reports to be emailed to the owner email addresses on file, or to generate them to be saved to the VMS Data folders.