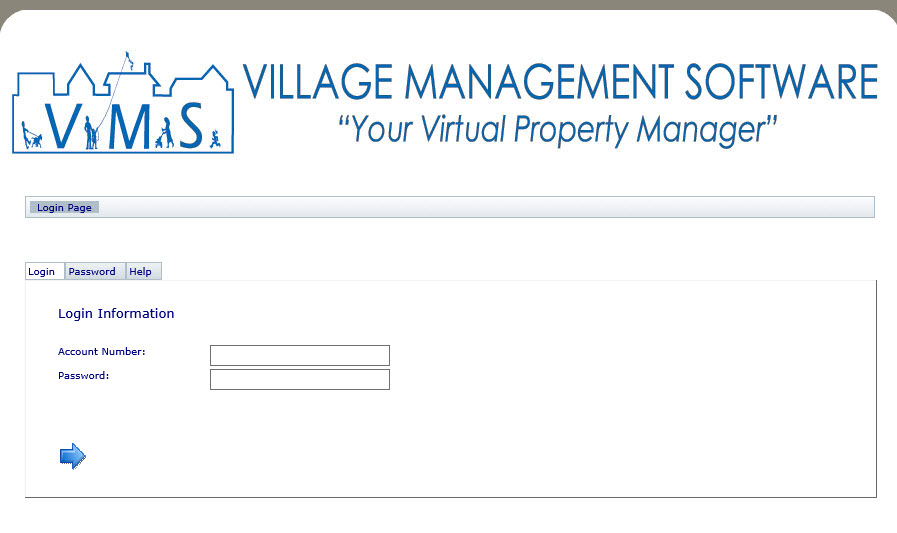
The VMSWeb login page is used by the residents to enter an account number and password. Once the user login information is validated, the web portal is built for the Property associated to the account.
There are a couple non-technical modifications that should be configured in order for the site to appear unique to the client (see the VMSWeb Installation document to understand how to install the web portal).
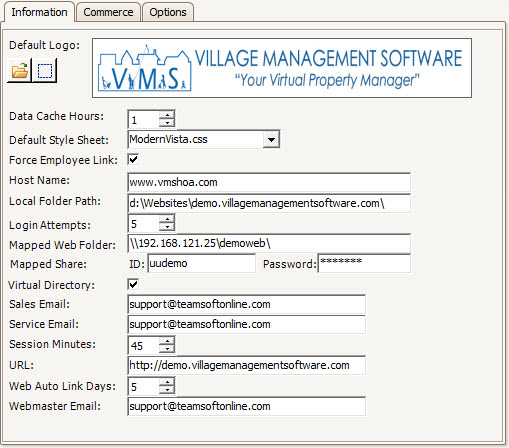
Enter into SETUP | Configuration Group | Program Options | Web tab.
1. The login page of the website uses the image added in the Default Logo selection of the Information tab. The image should be 780 x 110 pixels and can be a .BPM, .GIF or .JPG image file. An image can be created using any image editor (including Microsoft Paint) and saved as a .JPG (recommended because it is a compressed file format and will load quicker on the web page). Press the browse ![]() button to locate the image to add to the login page.
button to locate the image to add to the login page.
|
Do not exceed the recommended width of 780 pixels because the image will exceed the website's standard width of 800 pixels and cause the site to look irregular. A smaller image width can be used and the web portal will center the image to the web browse / page. |
|
Do not exceed the recommended height of 110 pixels because an image that has excessive height will force the user to scroll down to get to the login area. |
2. Select a Default Style Sheet from the dropdown list that best matches the logo. A style sheet defines the fonts, colors, background images of the site.
This is an example of what the login page will look like with the logo and style sheet defined:
Defining the User Disclaimers
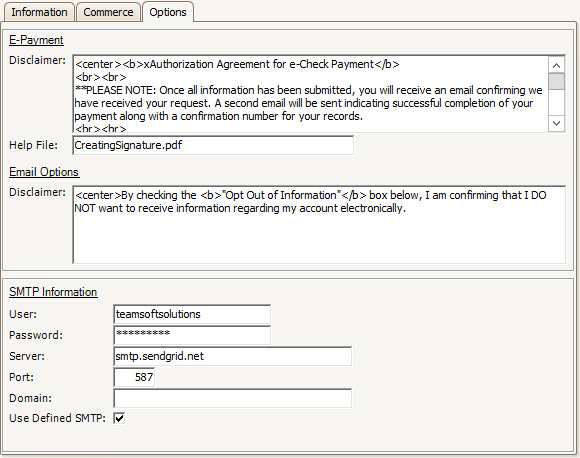
Click the Options tab to continue setting up the basic definitions.
The two fields that need to be managed are the E-Payment Disclaimer and Email Options Disclaimer. Both of these fields can use HTML commands to manage the content when viewed on the website. Example, if you want to center the text on the portal, enter the HTML tag <center> at the beginning of the text and the information will be centered when viewed online. Another example is using the <b> tag in front of a word or sentence and ending it with </b>, which will bold the text between the tag fields. Other HTML tags can be used when showing the text (search online using the keywords HTML Tags to locate websites that show lists and examples of many tags).
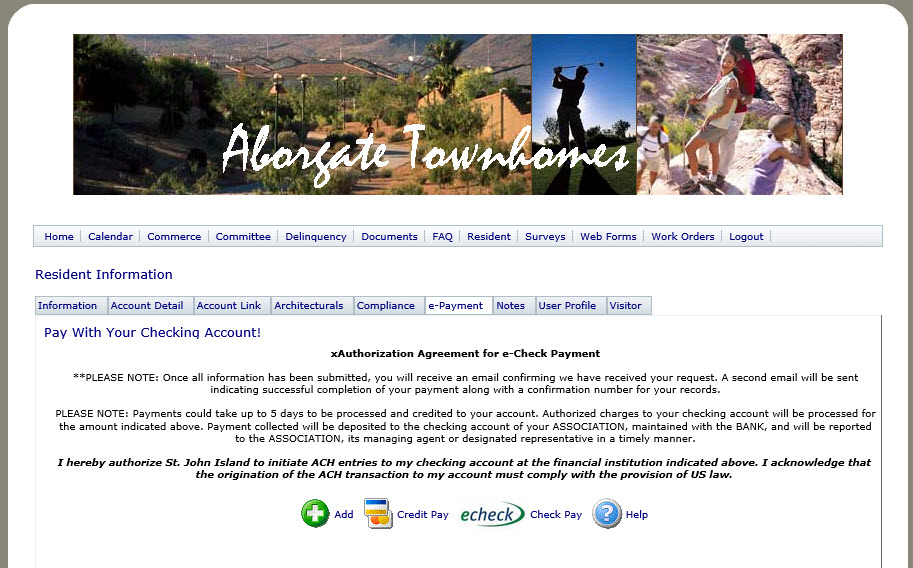
The E-Payment Disclaimer is used when the user elects to use the e-Payment page to setup a checking account to use when paying assessments. The disclaimer information entered is displayed on the page. The user must press the Add button to enter their check information and the system will prompt the user to agree to the disclaimer, which will add a note to the resident's account specifying that the client agreed to the disclaimer.
This screen shows the e-Payment page with the disclaimer entered:
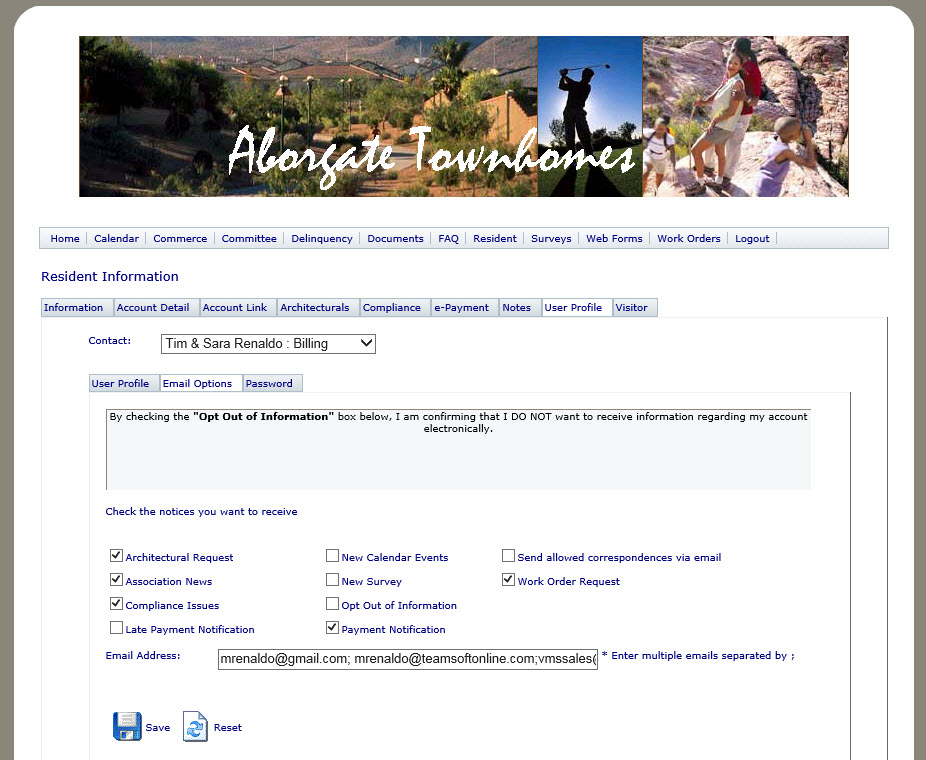
The Email Options Disclaimer is used when the user is changing the Opt In items used by the system to send notification emails when information is modified for the property or resident's account. The purpose of this information to let the end user know when to expect when using the notification messages.
This screen shows the Email Options page with the disclaimer:
Exit the application to save the information.