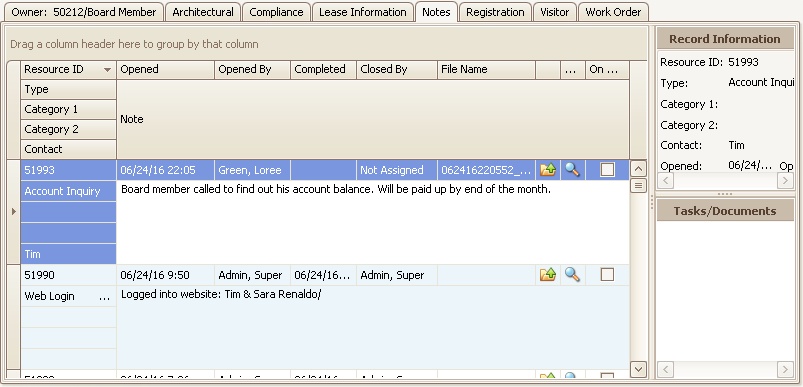
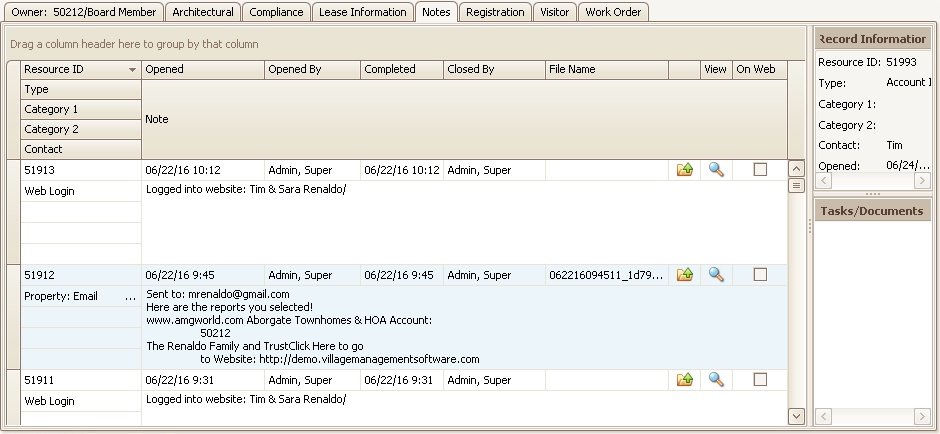
There are two main methods in which an Account Note can be created in VMS:
1.Manually by a VMS User. In this scenario, a user can either drag and drop Outlook emails, attach files (including but no limited to .mp4, .pdf, .gif,. jpg, jpeg), create a Merge Letter or simply type in a note.
2.Automatically by a VMS function.These are notes that are added by VMS when certain actions are triggered in the system, for example a Web Login, Web Logout, Contact Info changes, adding or editing ACH information online, any emails sent to the resident directly from the account, Blast Email, or Email Notifications. A note is also added when a resident fills out and submits a Web Form online, in addition to notes added by the eDistritbution of letters.
How to add a new Note:
1. Click the Add, ![]() , icon.
, icon.
2. A new set of blank fields will appear at the top of the list of Notes.
3. Any of the fields can be filled in.
4. To save the note, click outside any of the newly entered fields.

How to drag and drop an item into an account's Notes tab:
1. Click the Add, ![]() , icon.
, icon.
2. In your computer files, outside of VMS, find the email or electronic document you want to attach to the account.
3. Stagger any open windows so that you can see the new Notes fields. Left-click on the file and drag it into VMS until your cursor is hovering over the new Notes fields and has a small plus sign attached to it. Unclick your mouse.
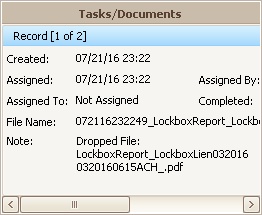
a. If you attach an electronic document, the system will select Dropped File for the Type and also enter Dropped File in the Note field.
b. If you attach an Outlook email, the system will select Property: Email for the Type, attach the entire email into the File field and convert the email into text and enter it in the Note field
4. The user can then fill in any other fields they feel are necessary.

5. If additional information needs to be added to a Note, the user can do this by dragging and dropping files into the Tasks/Documents area in the panel to the right of the Notes tab. The user can use the scroll bar to see all notes for the selected Note. The user can also right-click in the Tasks/Documents tab and select Add Task or Delete Notes.

6. Assign the task by selecting an Assigned To employee, which changes the Opened Employee to the selected employee and generates an email to the assigned employee notifying him / her of the task assignment. The task will show on the user's Task list.