1.Select the Property.
2.Select the Entry date. This is the transaction date for the period the entry should be posted to.
3.Check the Set Posted Date box if you want the entry transaction date and posted date to be the same.
4.Enter the Memo. The default is GL Entry but the user may enter a memo that better defines the transaction.
5.Select the GL Account.
6.Enter the Debit or Credit amount. Two or more entries will need to be entered so that the totals of the Debit and Credit columns equal each other.
7.Select the Journal Type.These are defined through Setup | Program Defaults | Codes.
8.The Note field will pre-populate with the information in the Memo field above. Further details can be added to the Note field if necessary.
9.Select the Department for the journal entry.

10.In the Quick Access Toolbar, click the Save button ![]() .
.
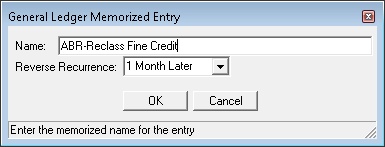
11.The General Ledger Memorized Entry message will appear.
12.In the Reverse Recurrence drop down, select the number of months in which the journal entry needs to be posted.
13.Press OK to save the memorized journal entry.

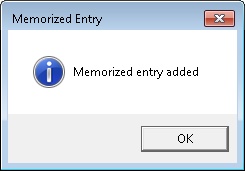
14.The Memorized Entry message will appear, press OK to close.

|
After posting the originating journal entry, VMS will create the reversal entry that will be viewable in Batch | Reverse screen to be manually posted in a future date. |