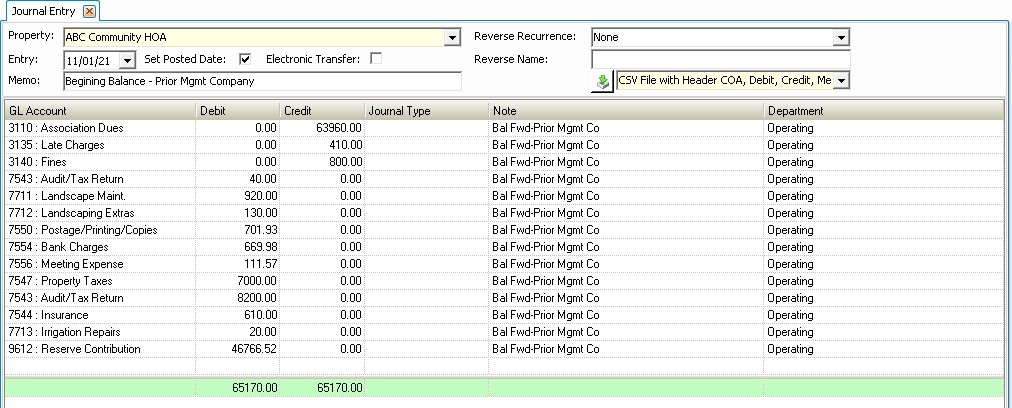
A journal entry can be added by importing the data from a .csv file that has been previously filled out using a spreadsheet. This option is beneficial when on-boarding a new property, to do the GL begin balance entry that is required when starting a new property in VMS.
VMS can import four types of GL Import files:
▪CSV File with COA,Debit, Credit, Memo.
▪CSV File with COA,Debit, Credit, Memo, Department.
▪CSV File with Header COA,Debit, Credit, Memo.
▪CSV File with Header COA,Debit, Credit, Memo, Department.
The user can fill out a spreadsheet after selecting the type of GL Import to be used. Then spreadsheet is saved as a .csv file and can either have the column headings or not.
|
Importing a journal entry can only be done one property at a time. If you have several properties that need journal entries, create separate files for each property. |
How to Import GL Journal Entries?
1.Select the Property.
2.Select the Entry date. This is the transaction date for the period the entry should be posted to.
3.Check the Set Posted Date box if you want the entry transaction date and posted date to be the same.
4.Enter the Memo or description of the journal entry.
5.Select the type of template to be imported (with or without header).

6.Click on import file button, ![]() , this will open a window to browse to find the .csv file to be imported.
, this will open a window to browse to find the .csv file to be imported.
7.Once the .csv file is selected, click Open button, this will import all the data from the file and display it in the Journal Entry grid.

8.Click Post button ![]() in Quick Access Toolbar to post the journal entry.
in Quick Access Toolbar to post the journal entry.