The Journal Entry tab is used to post manual entries directly to the G/L. The user has the ability to create a reverse batch, which contains the reverse entries of the data posted to be posted in the future through the Batch Maintenance module.

The fields are further defined:
Field |
Description |
Credit |
Enter the credit amount to post for the selected G/L account. |
Debit |
Enter the debit amount to post for the selected G/L account. |
Department |
Select a department/fund to post the journal entry into. |
Entry |
Select the date to use as the transaction date of the entry. |
GL Account |
Select the G/L Account to post the journal entry into. |
Note |
Enter any note to post with the transaction. |
Reverse Name |
The name of the reverse batch to be posted through Batch Maintenance. |
Reverse Recurrence |
The recurrence period to set the reverse batch to once posted. |
How to Create a Journal Entry:
1. Select the property to which entries will be posted.
2. Select the Entry Date, Reverse Recurrence period and Reverse Name, if applicable.
3. Select a blank row, then enter the credit amount and any notes, then select a department.
4. Select the next blank row, then enter the corresponding debit amount and any notes, then select a department.
5. Continue adding journal entries as needed.
6. Click on the Post ![]() button to post the entries.
button to post the entries.
Prior to posting a group of entries, the user can save the entries as a group, which can be re-selected at a future date to avoid having to re-enter the same list.
How to Save a Memorized Entry:
1. Enter all journal entries as needed.
2. Click the Save ![]() button drop-down from the toolbar and select Save Memorized Entry.
button drop-down from the toolbar and select Save Memorized Entry.
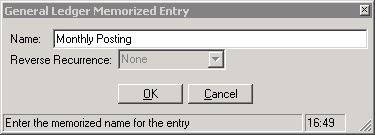
3. Enter a name for the memorized entry and select OK.

A user can load a saved memorized entry to avoid having to re-enter recurring journal entries.
How to Load a Memorized Entry:
1. Select the property for which the memorized entry list will be loaded.
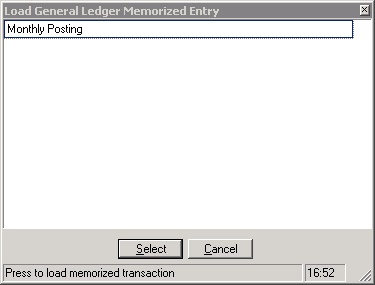
2. Right-click in the Journal Entry grid and select Load Memorized Entry.
3. Select the memorized entry.
4. Make any additional journal entries as needed.
5. Click the Post ![]() icon to post the entries.
icon to post the entries.
