Reports can be emailed to a contact's email via the User Reports area in the User Panel.
How to email reports to an account contact:
1. In the Account application, search for and select an account.
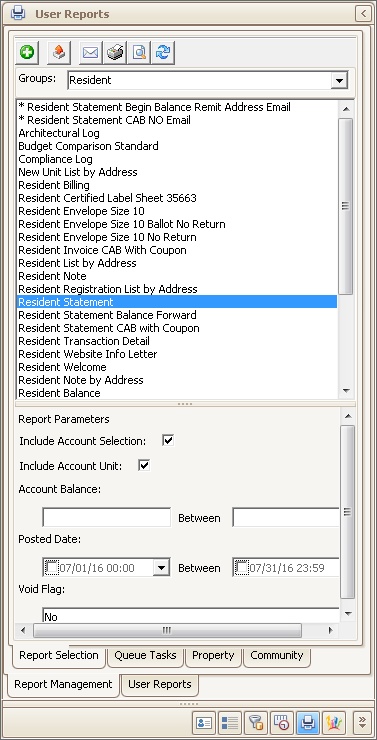
2. In the User Panel, select the User Reports area.
3. Select the report Group.
4. Select the report from the list.
a. If the report selected is a resident-type report, the Include Account Selection and Include Account Unit parameters will appear in the Report Parameters section.
i. The Include Account Selection option is selected to limit the report to data for the current account selected. Selecting this by itself will only render the report for the current account number you are viewing.
ii. The Include Account Unit option is selected to limit the report to data for the current account unit selected. Selecting this by itself will render the report for each different account number linked to the unit address.
iii. Leaving both the Include Account Selection and the Include Account Unit unchecked will render the report for the entire property.
b. If the report is not a resident-type report, it will render for the property associated to the account.
5. Once the report and its parameters are defined, click the Email button ![]() within the Report Panel toolbar. This will render the report and open the Email window with the report attached as a PDF and all email addresses for the account.
within the Report Panel toolbar. This will render the report and open the Email window with the report attached as a PDF and all email addresses for the account.
6. Add additional attachments, double-click an attachment to view it, then enter a subject and body for the email.
7. Press the Send button ![]() to send the email.
to send the email.

8. An account note will be added to the account with the email attached to it for record keeping and retrieval.