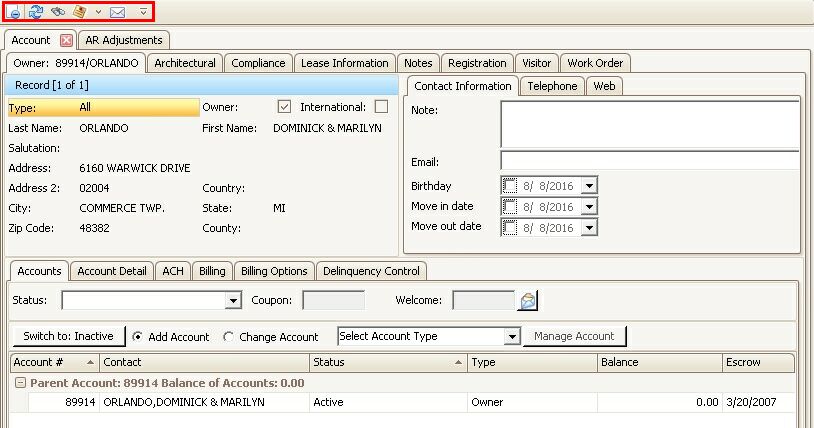
The Quick Access Toolbar has several uses which include custom user application links and any editing tools required by an application.
Custom User Application Links
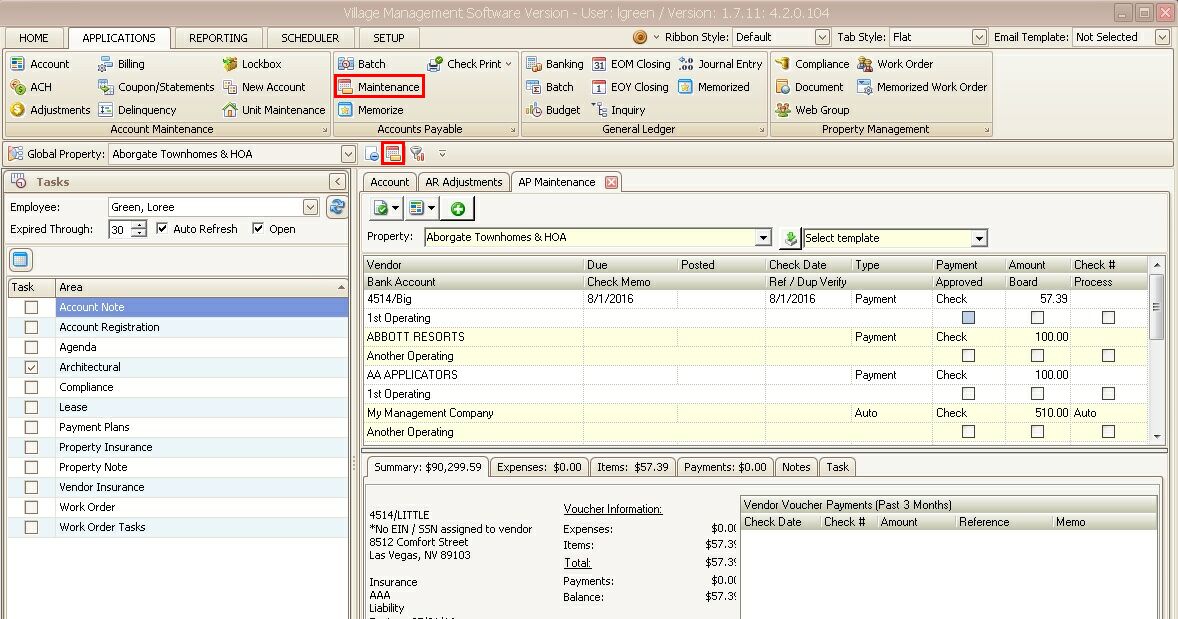
A user can select applications to be added to the custom toolbar by right-clicking an application within one of the group panels and selecting Add to Quick Access Toolbar. This action copies the application's icon to the Quick Access Toolbar and can be used to run an application by clicking the icon rather than going to the group panel and searching for the desired application.
For example, the AP Maintenance icon was added to the toolbar which allows the user to go directly to the AP Maintenance application instead of searching for the application in the group panel.
The custom tools are saved and added when the user exits and enters VMS and can be removed from the toolbar by right-clicking the icon and selecting Remove from Quick Access Toolbar.
Editing Tools
As a user works in an application, there are tools associated with the application that are used for specific operations.
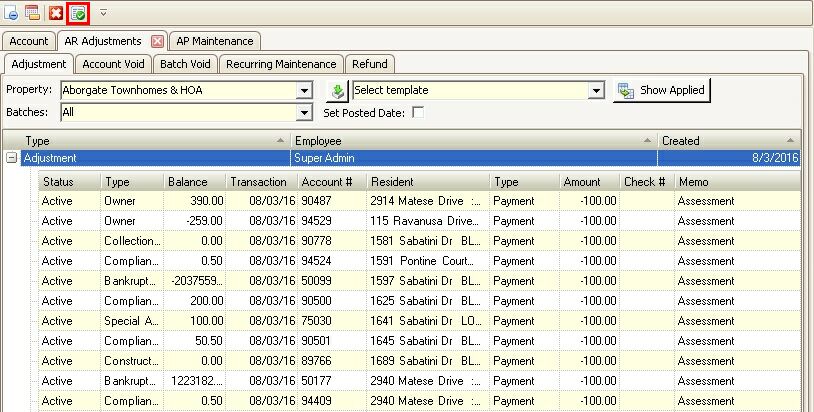
For example, the Post button is used to process a transaction, which is enabled in the Quick Access Toolbar. The tools available will automatically change when moving between applications and fields.
Filter Tool
The Filter Tool ![]() is a common feature in the system that allows a user to search for information within a data grid and is available in AP Maintenance, Compliance, GL Inquiry and other select areas. Each application using the tool will have different filters available.
is a common feature in the system that allows a user to search for information within a data grid and is available in AP Maintenance, Compliance, GL Inquiry and other select areas. Each application using the tool will have different filters available.

|
Create a filter by selecting a new row and filling the fields with the applicable information. |
The fields are further defined:
Field |
Description |
|---|---|
Filter (red box): |
This field will vary depending on the application |
Filter Value (green box): |
The value the user enters in this field is based on the filter selected and defines the information by which the grid will be filtered. For example, in GL Inquiry, if the filter Account Type is selected, the program will display the types of accounts like asset, operating and reserve to filter the information in the grid. |
Join (purple box): |
This field is used to create advanced filtering with multiple filters:
AND: Join two filters to make sure the first filter AND the next filter are used to filter the grid. OR: Join two filters to make sure the first filter OR the next filter are used to filter the grid. BEGIN AND/BEGIN OR: Start a grouped filter where the user can filter the grid by grouping multiple filters together as a single filter, then add additional filters after the group. The group of filters are treated as one evaluated filter. END: End the filter group.
|
Type (blue box): |
The type of evaluation for the filter:
Does Exist: If there is data in the selected filter field, the program will include the information in the inquiry. Does Not Exist: If there is no data in the selected filter field, the program will include the information in the inquiry. Equal: The program will verify the filter selected is equal to the filter value entered. Greater Than: The program will verify the filter selected is greater than the filter value entered. Greater Than or Equal To: The program will verify the filter selected is greater than or equal to the filter value entered. Less Than: The program will verify the filter selected is less than the filter value entered. Less Than or Equal To: The program will verify the filter selected is less than or equal to the filter value entered. Not Equal: The program will verify the filter selected is not equal to the filter value entered.
|
The Buttons are further defined:
Field |
Description |
|---|---|
OK |
Accepts user change and filters the data based on selection criteria. |
Reset |
Each module in VMS uses different filter parameters that are saved per user. Reset sets the parameters back to the defined user definition before any changes were made and not set as the default. |
Set Default |
This option sets the current filter data in the grid as the standard view for the data being filtered within the current module. |
Examples of Using the Filter
Using AND to look at a date range:
A user wants to view only journal entries that were entered between June 1st of 2005 and June 30th of 2005.
1. Click on a new row and select the Posted filter
2. Select the Greater Than or Equal To type
3. Select or enter the date 06/01/2005 in the Filter Value field
4. Select the Join type AND
5. Click on a new row and select the Posted filter
6. Select the Less Than or Equal To type
7. Select or enter the date 06/30/2005 23:59 in the Filter Value field

Press the OK button to use the entered information to filter the grid.
Using BEGIN OR to look at multiple G/L Codes for a specific date range:
A user wants to view only journal entries that were entered between July 1st of 2005 and July 3rd of 2005, and only view data for the 1100 Operating and 1105 Reserve G/L accounts.
Date filter:
1. Click on a new row and select the Posted filter
2. Select the Greater Than or Equal To type
3. Select or enter the date 07/01/2005 in the Filter Value field
4. Select the Join type AND
5. Click on a new row and select the Posted filter
6. Select the Less Than or Equal To type
7. Select or enter the date 07/3/2005 23:59 in the Filter Value field
8. Select the Join type AND

G/L code filter:
9. Click on a new row and select the G/L Code filter
10. Select the Equal type
11. Select 1100 Operating account in the Filter Value field
12. Select the join type BEGIN OR
13. Click on a new row, select the G/L Code filter
14. Select the Equal type
15. Select 1105 Reserve account in the Filter Value field
16. Select the join type END
Press the OK button to use the entered information to filter the grid.
Clearing a Filter
To clear the current filter, press the Filter tool ![]() , then press the Reset button, which reverts the filter grid to the original selections, press OK to accept the change and return to the grid.
, then press the Reset button, which reverts the filter grid to the original selections, press OK to accept the change and return to the grid.
Defining a Default Filter
A user can define a default filter, which will be used each time the application is accessed. The default filter is applied and used for any properties selected within the application.
To set the default filter, enter any desired filter selections, then press the Set Default button. This will save the definition for the application and user.
Once a default filter is defined, other filters can still be used in the future, pressing the Reset button within the filter tool will set the filters back to the default.
Removing a Default Filter
Press the Filter tool ![]() to show the Filter Information screen, right-click each defined filter parameter and select Delete Filter. Once all of the parameters are removed, press the Set Default button again, which tells the application to show all of the data within the grid.
to show the Filter Information screen, right-click each defined filter parameter and select Delete Filter. Once all of the parameters are removed, press the Set Default button again, which tells the application to show all of the data within the grid.