Program Defaults: Vendor |
  
|
Program Defaults: Vendor |
|
The Vendor tab is used to maintain information regarding any vendors attached to properties.
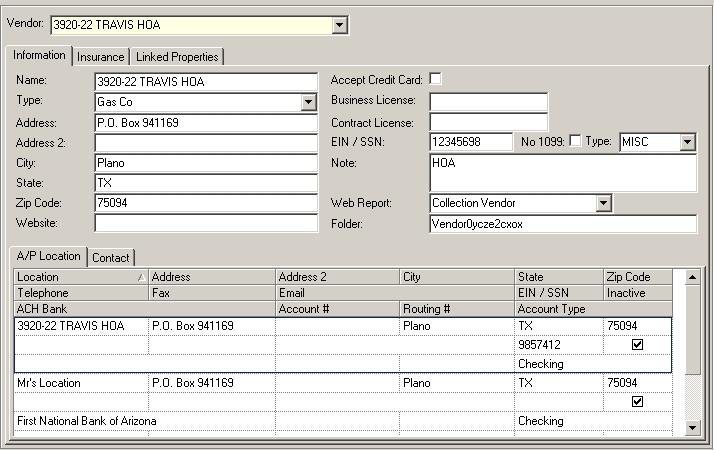
The fields are further defined
Field |
Description |
|---|---|
Name |
Enter the name of the vendor. |
Type |
Select a vendor type from the drop-down list. To define additional types see: Setup/Program Defaults/Codes Vendor Type. |
Address/City/State/Zip |
Enter the vendor's mailing address. |
Website |
Enter the vendor's website, if applicable. |
Accept Credit Card |
Select if the vendor accepts credit card payments. |
Business License |
Enter the vendor's business license, if applicable. |
EIN / SSN |
Enter the vendor's Employee ID Number or Social Security Number, if applicable |
Note |
Enter any vendor notes as needed. |
Web Report |
Designate a report group for the vendor if they have access to the web. |
Folder |
Enter the web folder name relating to the vendor. |
To add a vendor:
| 1. | Click on the arrow next to the Add |
| 2. | Type in the name of the vendor in the Name field. |
| 3. | Choose a vendor type from drop-down list. |
| 4. | Enter the remaining information as needed. |
| 5. | For Web Report, select a report group that the selected vendor may access from the website. |
The Web Report field is a group of reports assigned to the vendor, which are available to the vendor when they log into the vendor website with their defined User ID and Password. For example, if the user has a collection company that collects debts owed to the property, the vendor can be given access to aging reports from the system to determine who owes money. The reports are maintained in real time, so the resident information is always current. See Report Groups and Selection Parameters to understand how report groups are created.
|
Vendor access is limited to the properties they are linked to it. |
| 6. | Enter a folder in which vendor documents can be stored on the web server. |
The Folder field is used to create a folder on the web server that allows users to add documents that are accessible to the vendor online. VMS will automatically create a Folder name, which begins with Vendor and has 10 random characters on the end.
|
A unique naming system adds an extra level of protection against hackers. When adding web documents for owners and/or vendors create the file names with random characters at the end of the name to help avoid giving hackers information intended for your user (see Resident and Property/Property/Vendor Documents) |
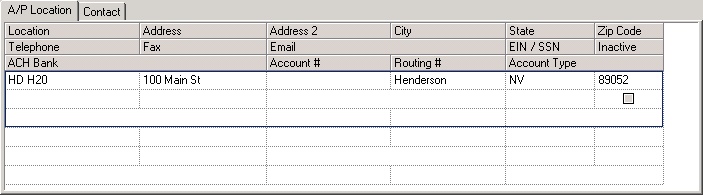
A/P Location (remit addresses)
This tab is used to enter the location of vendors, which are necessary for creating A/P vouchers.
|
Each vendor must have at least one location entered in the VMS system in order for them to be displayed in the A/P maintenance module. Information located in this section will be used when printing A/P checks for a vendor. |
|
If the A/P Location data at the bottom of the screen is the same as in Information (above), select the Copy |
If the information differs from the above area or if the vendor accepts ACH payments follow these steps:
| 1. | Enter the vendor's location, address, city, state and zip code information. |
| 2. | If the vendor requires 1099 printing, enter the EIN/SSN number. |
| 3. | If the vendor requires electronic payments, enter the ACH Bank, Account and Routing Numbers, and Account Type. |
Contact
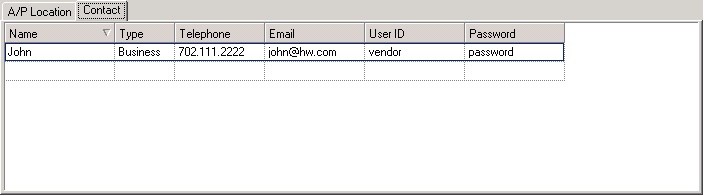
| 1. | Enter the vendor's general contact information. |
| 2. | Enter any specific contact information associated with the vendor. Be sure to include the User ID and Password if the user has access to the website. |
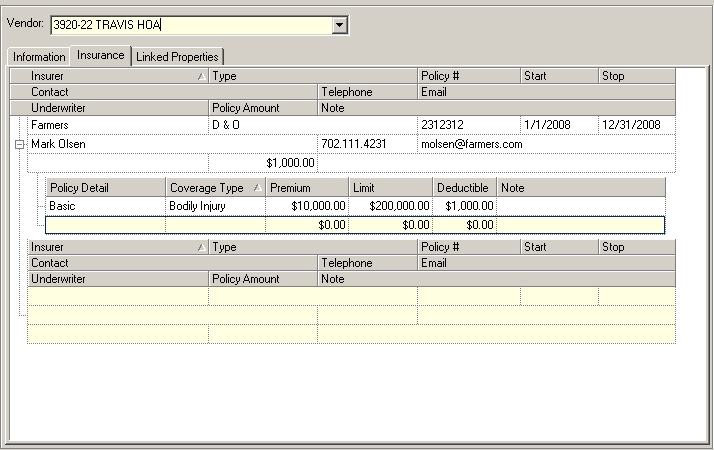
Users can add insurance information for each vendor, which is displayed in the Accounts Payable screen when a vendor is selected. Notification is given if a vendor is selected and the insurance information is expired.
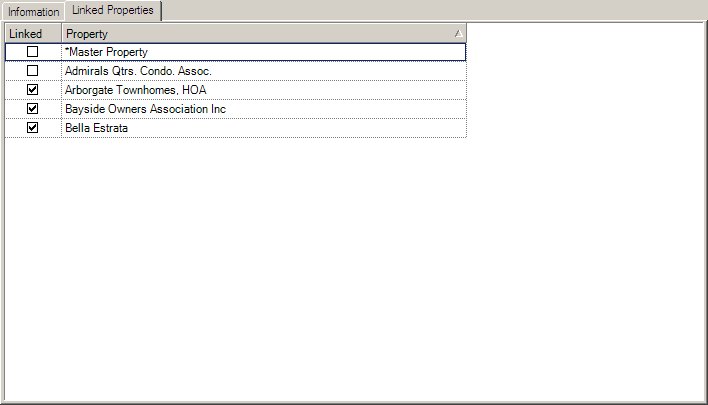
Linked Properties
Allows the user to link properties to the added vendor. For increased efficiency, the user may link their vendors to their *Master Template during the setup process.
|
All master list items, including vendor records, can also be linked though Property Setup. When you are located on a specific tab through Property Setup, such as Vendor (Setup/Property Setup/Vendor), you can right-click the mouse button and select Add Vendor to display the master list of insurers, which allows for the drag and drop of a selection to the property. |