After completing the first seven classes, users should be able to put all the information together to properly define a property from start to finish. Based on the information already covered, here is the sequence to follow to setup a property in VMS:
I. SETUP | Property Group | Property Setup
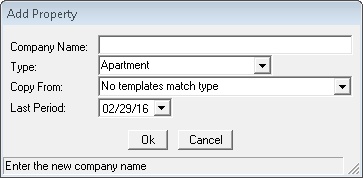
1. Click the black arrow next to the green plus sign ![]() and select Add Property. A window will pop up that will need to be filled in with:
and select Add Property. A window will pop up that will need to be filled in with:
Field |
Description |
|---|---|
Company Name |
Name of the property. |
Type |
The type of property being setup up. |
Copy From |
Select the Master Template created in the previous classes. |
Last Period |
Date of the last accounting period. |
2. Click OK and the Copy Property Setup Information window will appear. This will allow the user to select the areas to copy from the Master Template into the new property. Select the appropriate areas and then click the Copy Property button.
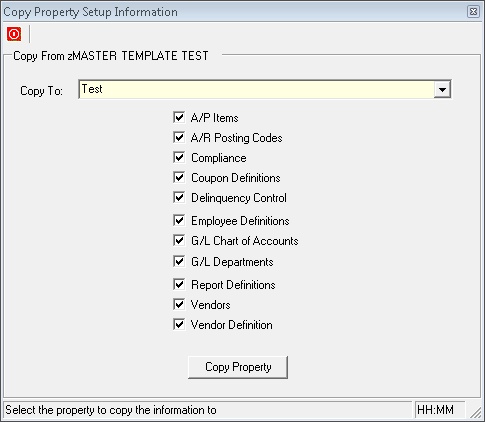
3. A confirmation window will appear and then the new property will appear in the Property selection field in Property Setup.
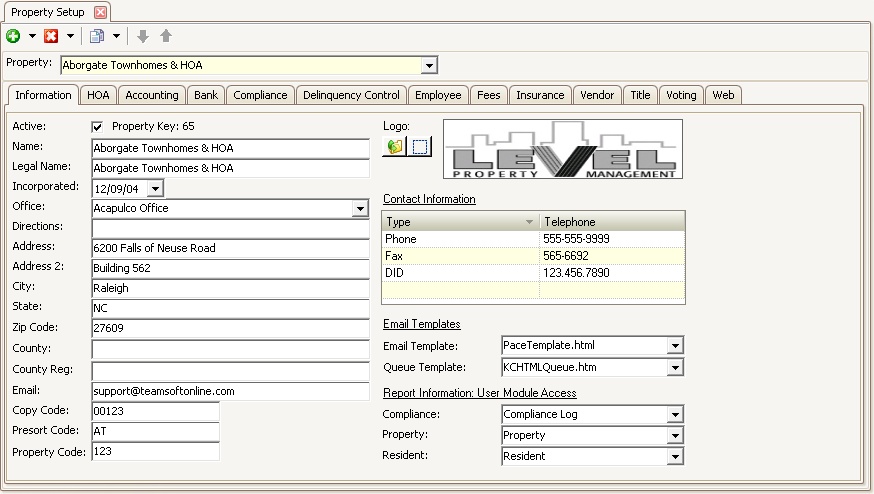
4. Complete the fields in the Information tab.
5. Go to the HOA | Community tab. Your new Property will appear as a Community.
i.To create additional communities, select the Community tab, click the black arrow next to the Add button ![]() and select Add Community
and select Add Community
ii.Enter the name of the community and any other information needed.
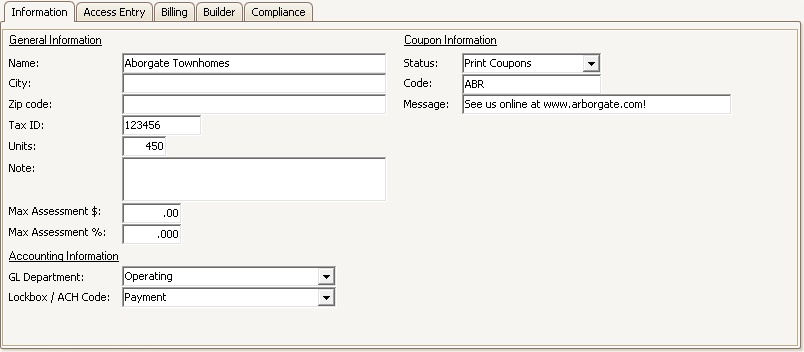
6. For each community created, define the following fields in the Community Information tab:
Field |
Description |
|---|---|
GL Department |
This is the general ledger department to post transactions to. Note: Applicable only if overriding the default property department defined through Accounting | General Ledger tab. |
Lockbox / ACH Code |
This is the payment post code used when processing payments from homeowners. |
Code |
This is a unique code assigned to the community. It will be used when creating statements, coupons, and when processing a bank's lockbox file. It is typically assigned by your lockbox processing bank. |
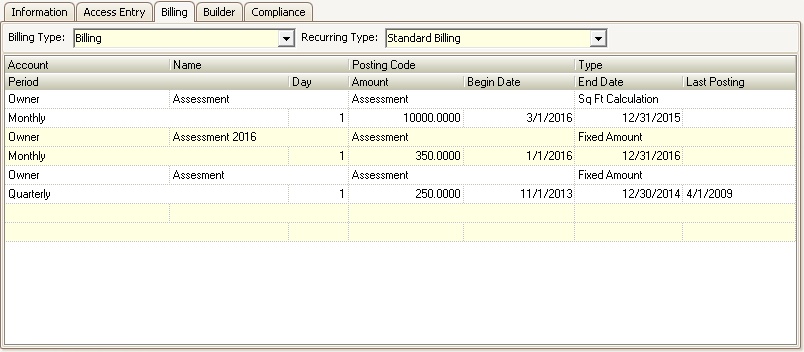
7. Go to the Community | Billing tab and enter the billing records assessed to accounts on a recurring basis.
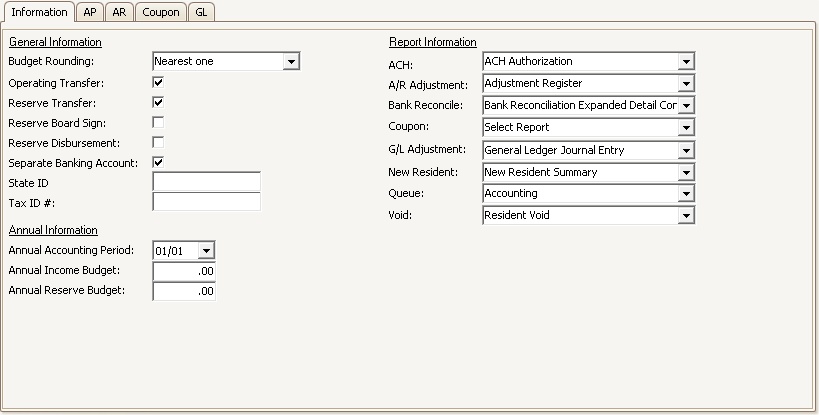
8. Go to the Accounting | Information tab and enter the general accounting information for the property.
a. Enter the Tax ID # for the new Property
b. Select the Annual Accounting Period
9. Go to the Accounting | AR | Information tab and select the Apply Method in which credits and payments will be applied to the charges on the homeowners' accounts. The options available are:
Field |
Description |
|---|---|
FIFO |
First In First Out - Credits and payments will be applied to the oldest charges first. |
LIFO |
Last In First Out - Credits and payment will be applied to the most current charges first. |
Posting Hierarchy |
Credits and payment will be posted based on the order of the posting codes found in Accounting | AR | Posting Codes.
To change the order of the Posting Codes, highlight the posting code you want to move and then use the green up and down arrows,
|
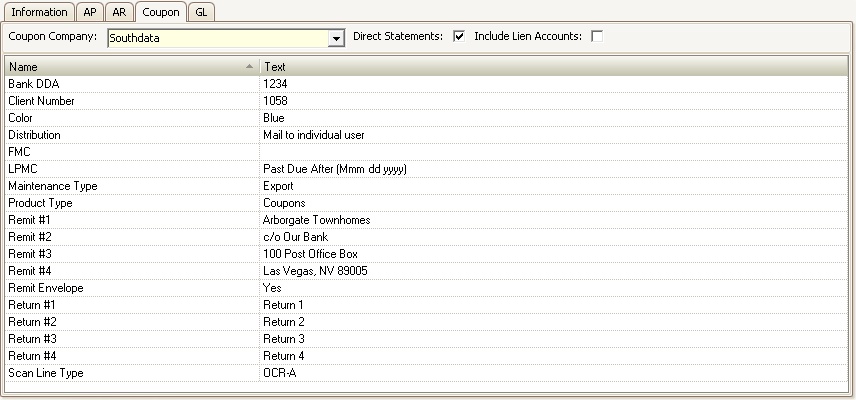
10. Go to the Accounting | Coupon tab, select a coupon vendor and enter the information that will print on the coupons and/or statements.
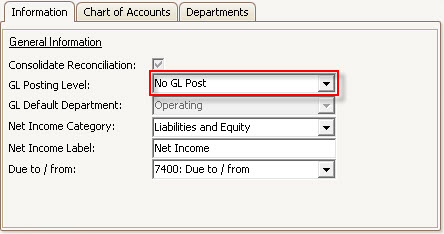
11. Go to the Accounting | GL | Information tab and make sure the GL Posting Level field is set to No GL Post.
12. Go to the Accounting | GL | Chart of Accounts tab and add the Property's bank account information. In order for the bank to be entered properly, the user must enter the following:
Field |
Description |
|---|---|
Code |
This is the number assigned internally to the bank account. |
Name |
This is the name of the bank account (ex: Bank of America Operating) |
Type |
This is the type of account opened with the bank. Options available are: Money Market, Operating Account, Other Bank, and Reserve Account. |
Bank |
This is where the bank that was setup in SETUP | Configuration Group | Program Defaults | Bank is linked to the account. |
Account # |
This is account number assigned by the bank. It will appear on AP checks. |
Routing # |
This is the bank's routing number. It will appear on AP checks. |
Next Check # |
This is the next available check number to be printed from the system. |
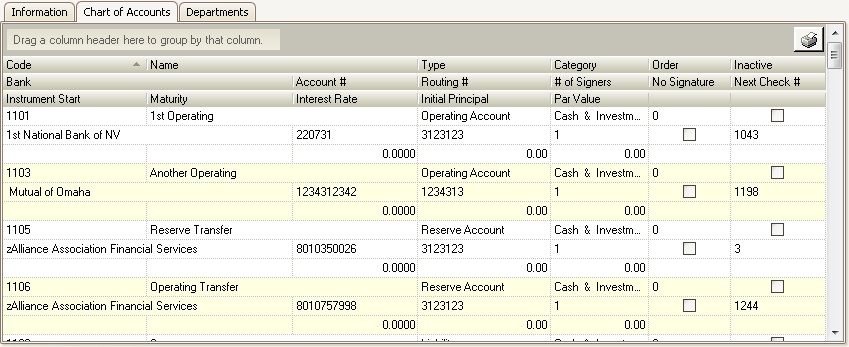
13. While in the Chart of Account tab, inactivate or delete any GL accounts that will not be needed or will never be used. This will avoid confusion by other users and keep the wrong GL account from being used.
14. Go to the Employee tab to link employees to a property.
i.Add current employees to the property by clicking the black arrow next to the Add button ![]() and select Add Employee.
and select Add Employee.
ii.A windows will appear with a list of Employees.
iii.Drag / drop employees from the list into the Employee grid, close the windows when finished.
iv.In the Correspondence column, select the applicable correspondence type for each employee. Correspondent types are used by the system to route email messages to specific employee groups when residents use online web forms. Common types are Accounting, Assistant, Compliance, Manager, Specialist 1 and Specialist 2. See Web Forms section to get an understanding of how Web Forms are created and used.
v.Check the Leader box for the individual that is to be linked to any letters or correspondence that are rendered in the system.
|
A leader must always be defined, but only select one leader. The reason is a leader is generally added to merge letters and not defining a leader or selecting multiple employees as leaders will cause the letter generation system to not properly work. |

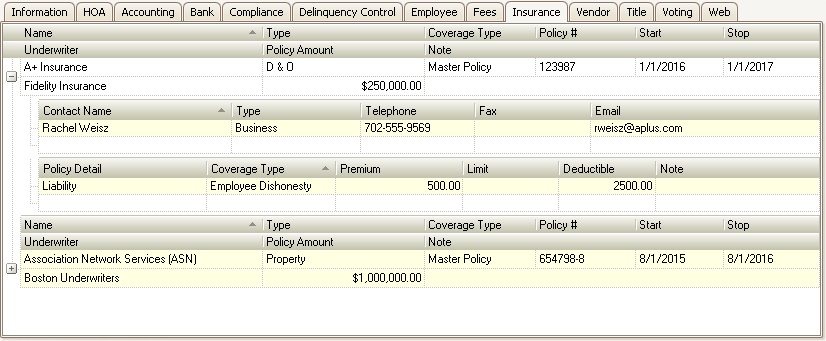
15. Go to the Insurance tab to add the property's insurance information.
i.To add insurance information, click the black arrow next to the Add button ![]() and select Add Insurer.
and select Add Insurer.
ii.A window will appear with a list of insurers
iii.Drag / drop an insurance company into the Insurance grid. Close the window when finished.
iv.Once the insurance company is added, then the details of the insurance policy can be added.
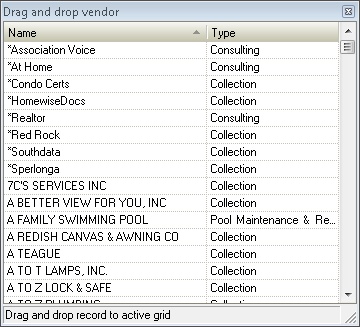
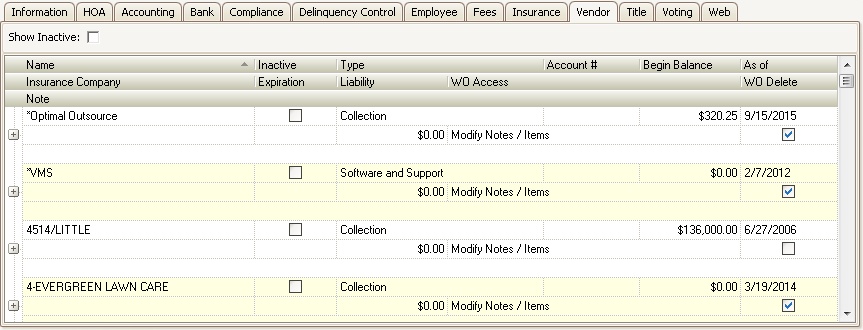
16. Go to the Vendor tab to link vendors to the property. This will ensure that only vendors that property uses show up as a option in AP.
i.To add a vendor, click the black arrow next to the green plus sign ![]() and select Add Vendor.
and select Add Vendor.
ii.A window will appear where the user can drag / drop a vendor to the list of vendors in the Vendor grid. Close the window when finished.
iii.Once the vendor is added, the user is able to add a Beginning Balance which would be equal to the amount that the vendor has been paid to date in the previous software system. The As of field will be the month and year that this balance is to be included in the total balance calculated when creating 1099s for the vendor (see Vendor Maintenance).
II. VMS Import or Conversion Utility
The VMSImport allows the user to take a spreadsheet of all owners in a property and merge them into VMS. The system will create a new account in the system for each homeowner added.
III. APPLICATIONS | Account Maintenance Group | Adjustments
The beginning balances for the homeowners can be added with an Adjustment Batch.
After entering the beginning balances, run an Aging and Prepaid report and verify that the information is correct. If there are any discrepancies, more adjustments can be entered to correct any balances.
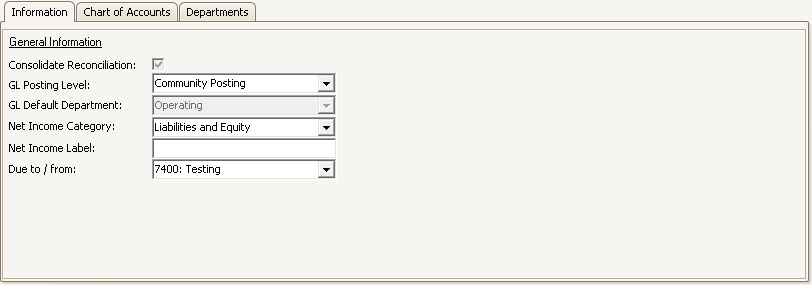
IV. SETUP | Property Group | Property Setup | Accounting | GL | Information
Once the correct beginning balances are entered for the homeowners, the user should:
1.Turn the GL on by selecting Community Posting or Property Posting from the GL Posting Level field.
2.Select the GL Default Department. This is typically the Operating Account.
3.Select the Net income Category.
4.Enter the Net Income Label, also known as Profit/Loss. This label will show on the Balance Sheet.
5.Select the Due to / from account, also known as the Suspense Account. This account will be used when making journal entries between multiple bank accounts.
V. APPLICATIONS | General Ledger Group | Journal Entry
The beginning balances for each GL account can be entered with a journal entry.
VI. APPLICATIONS | General Ledger Group | Budget
The yearly budget can be entered in the Budget application.
VII. APPLICATIONS | General Ledger Group | Banking
An initial bank reconciliation must be done for each account to ensure the information entered into VMS matches that of the prior system.
VIII. APPLICATIONS | Account Maintenance Group | Billing
If needed, billing can be run to charge the homeowners any recurring charges.
IX. APPLICATIONS | Account Maintenance Group | Coupon/Statements
A file can be created by VMS to send to a third-party coupon vendor to create new coupons or statements. These coupons and/or statements will show their new account number and give the new payment address.